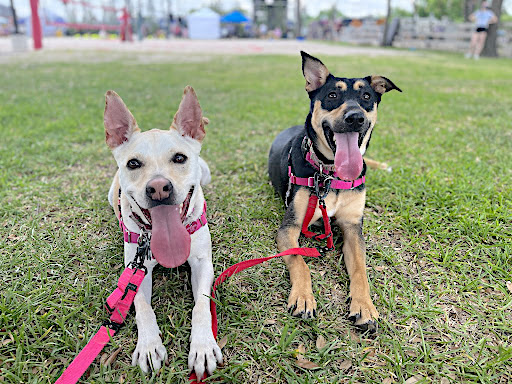
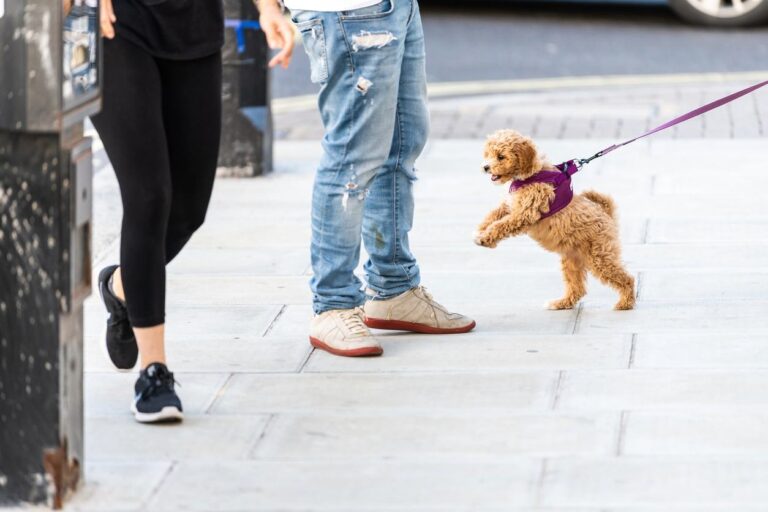
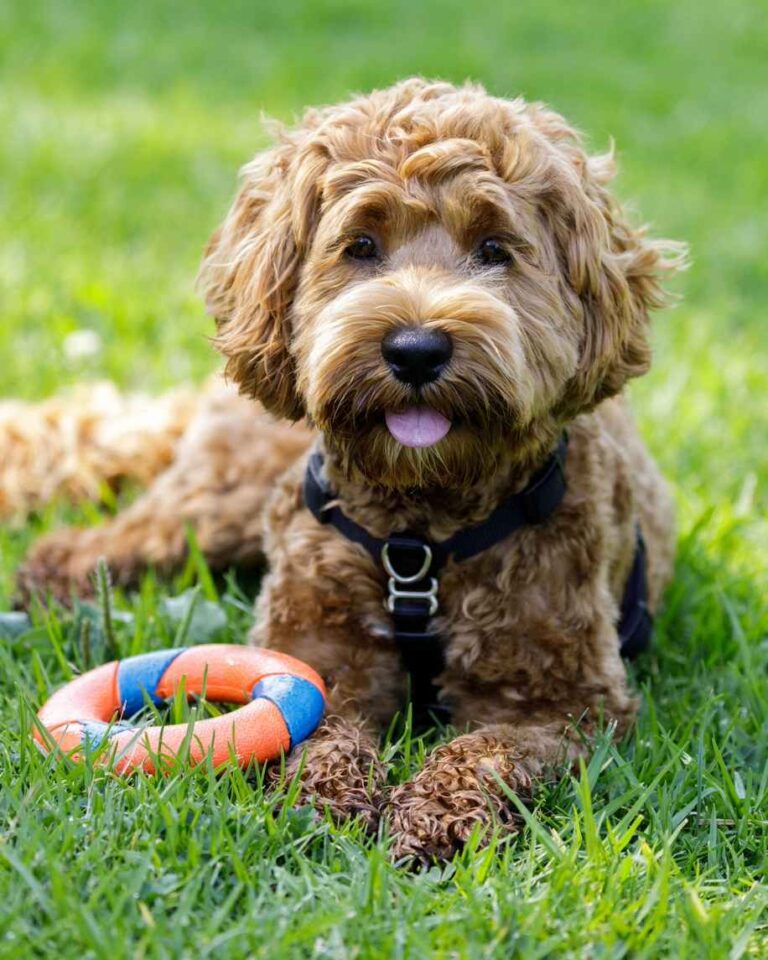
If you are someone who wants your puppy to be a large part of your active lifestyle, you want to walk them with your kids at the end of the day, or if you want to bring them to Happy Hour with you, all of these have one major component in common: You need to be able to walk your puppy! Getting started with walking nicely on a leash as early as possible is the way to go. We are going to walk you through our biggest tips and tricks to make your puppy walks and outings as pleasurable as possible.
What you will need to get started:
- A fitted collar
- A flat 6ft leash
- A fitted front chest clip harness. We love the Easy Walk harness
- Kibble or treats
- Treat pouch
If you need help selecting the perfect tools, check out our Puppy Supplies List for a list of our trainers’ favorites!
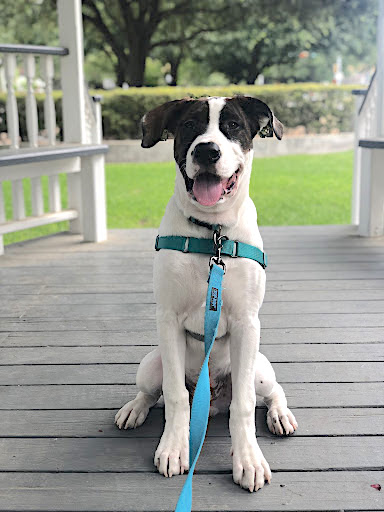
Leash Walking – The Basics:
According to the American Kennel Club, leash walking or “heel” is traditionally started on the left side. For the purposes of our teaching, we are going to discuss leash walking on the left side, however, you can also teach them on the right side if you prefer. Simply switch all hand and feeding positions to the opposite side.
What position is correct for leash walking?
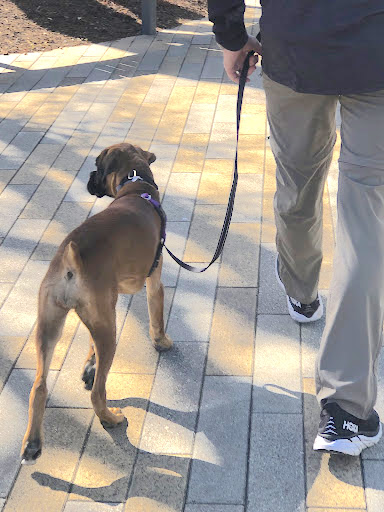
For leash walking, your puppy should remain on the left side of your leg and their nose should remain behind your left knee until they are released from position.
What cue should I use?
We like “Let’s go!” However, you can choose the command of your preference.
When you are ready to let them sniff or go to the bathroom, you can say “free.” When you are ready to continue back on your walk, put your hands back to position and say “let’s go” again.
Getting started:
Start inside the home
- Have your puppy dragging a leash to begin. Start with a handful of treats in your left hand making the food very obvious. Start walking and reinforcing your puppy every time they “check in” with you at the correct position by saying “good” and feeding.
- As you walk around the house, continue to say “good” and feed for good positioning. Start small, (10-15 seconds) and then increase the amount of time your puppy is in position. (1, 2 minutes, etc.) You can move to the backyard when ready.
- When you are ready for your puppy to be out of position, say “free.” No need to feed for this!
After 2-3 days of good positioning, move to the front yard/neighborhood
- For safety, use both the harness and a fitted collar. Make sure both are fitted snugly and connect both the harness AND the collar to your leash.
- We recommend starting on the concrete/sidewalk so there aren’t as many distractions. Be sure it passes the heat test. You can check out our heat safety blog.
- As soon as you get outside, immediately say “let’s go” and start reinforcing good positioning (not crossing in front of your knee).
- Use the same technique and rate of feeding that you did in the house. Take 1 step, say “good” and deliver a treat. Continue feeding continuously and at a high rate until your puppy is successfully walking right next to you.
- When you are ready to release your puppy or if you’d like them to go to the bathroom. Say “free.”
How to thin out food:
- You will now begin using “formal” and controlled leash positioning by placing the loop of the leash over your right wrist, and place your left hand a few inches above the clip of the leash. Your leash should just be loose enough to allow a little slack, however not too loose where your puppy could pull out quickly ahead of you.
- Have a treat pouch full of treats clipped to the back of your pants on the right side/hip.
- From here on out, you will deliver treats to your puppy with your right hand, feeding ACROSS your body to your left side. Think like buckling a seatbelt!
- When you are ready, say “let’s go,” you will say “good” and feed across your body every 1-2 steps. As your puppy is successful you can begin to thin out the amount of food by praising them in lieu of a treat every other step. Continue this method until you are feeding very minimally.
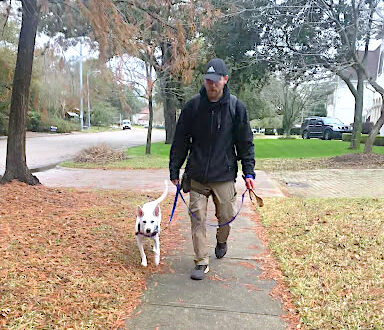
Making it more challenging:
Add in distractions
- As your puppy is getting good over the next few days, layer in distractions such as people, cars or dogs. Trainer tip: Anytime you make it more challenging, you’ll need to reinforce(treat) at a higher rate to start!
- If you are walking towards a distraction, encourage eye contact with praise and a higher rate of treats to maintain good positioning.
Keeping your puppy at your pace
- To make sure your puppy is staying by your side and attending to your walking speed, you can begin to introduce “pace transitions.”
- Speed up and then slow down. When you slow down, say “good” and treat each time you slow down. Encourage eye contact and good positioning!
Troubleshooting:
- If you are having a hard time delivering treats fast enough
- Try a wooden spoon with PB or a cheese can! This is especially great for smaller dogs, and will help save your back too.
- If your puppy doesn’t seem interested in the treats
- Try using a more tasty treat! If you are using kibble, try a paste! If you are using a paste, try a meat based treat such as deli meat or boiled chicken.
- If your puppy continues to have constant tension on the leash OR your arm and the leash are constantly tight
- Try increasing your rate of feeding.
- You may also need to decrease the amount of distractions until your puppy can walk next to you with a loose leash and your arm flat by your side. Then work your way back up!
- Use your leash to move your puppy back into position if and when needed.
Developing good leash waking habits will take time and consistency! It is important that every time you go out, you are ready to reinforce appropriate leash position and use the leash and your control hand to discourage and reposition your puppy for being out of position (anything in front of the knee). Make sure to bring that treat pouch with you! The ultimate goal is to keep your lease loose, but in control.
If you find you would like more training or information on leash walking or any other puppy behaviors, we have a team member ready to walk you through your options. Contact us today!
